HOME | NEWS | INTERACTIVES | FEATURES | STORE
HOME | NEWS | INTERACTIVES | FEATURES | STORE
3. Scaling Up to Full SizeAfter the initial designs were approved, I scaled the first of the layouts to the finished painting size. and these murals are big: The biggest is more than 65 feet long and two stories tall! I painted these murals one at a time, in sequence, to accommodate the museum's building plans and needs.
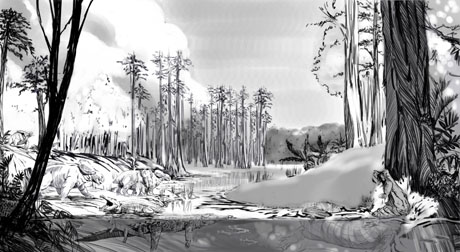
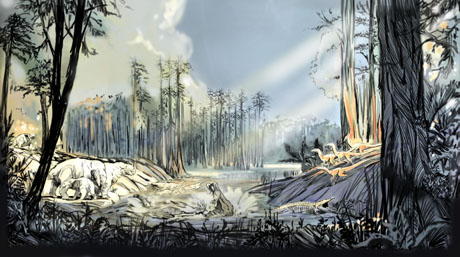
Each of these images was created digitally on a powerful graphic workstation, and each was painted at full size. What does that mean from the perspective of a PC user? Well, while I am working on them, the biggest of these images won't even fit on a single CD-ROM: They take more than 1.4 gigabytes of file space. To open the files, my computer needs to have more computer memory (that's the "RAM" part of your system) than many PCs have as space on their hard drives. As I say, these murals are big. Although I work digitally on a graphic workstation and "paint" electronically, these murals do not include scanned or "imported" content. What you see is what I actually painted (. and painted, and painted.). 4. Adding Rough ColorAfter the image was scaled up, I created a color sketch of the painting:
Despite all the high-tech-sounding stuff I use, this color sketch is based on a very traditional oil-painting trick that artists have used for hundreds of years. Using varying shades of only a few colors, the color sketch begins to "fill out" the design. Since the museum staff and their designers had a sense the colors they planned to use in these halls, it was also important to consider how these giant murals would look in their surroundings. The museum then reviewed the color sketches, and some changes and additions were made. Next: Spreading the paint.
Reprinted with permission from www.KarenCarr.com All images © 2000 Karen Carr. All rights reserved. |
![]()


Free Book Download:
Geologic History of West Virginia by Dudley H. Cardwell (1977)
>> Download the Book

PREHISTORIC PLANET
Your Source for Dinosaur and Fossil News and Information
Copyright 1999-2024 by PaleoClones, LLC. POLICIES. All rights reserved. Site by Stage 2 Studios.